 en
en  Russian
A proxy server is used to replace the device’s IP address. This happens by intercepting the user’s request for access to the required resource, replacing the real IP with the proxy IP address, and only then sending an access request to the server where the site is located.
Since Google Chrome has no proxy configuration settings of its own, you can use the Proxy SwitchyOmega extension.
How to get SOCKS Proxy
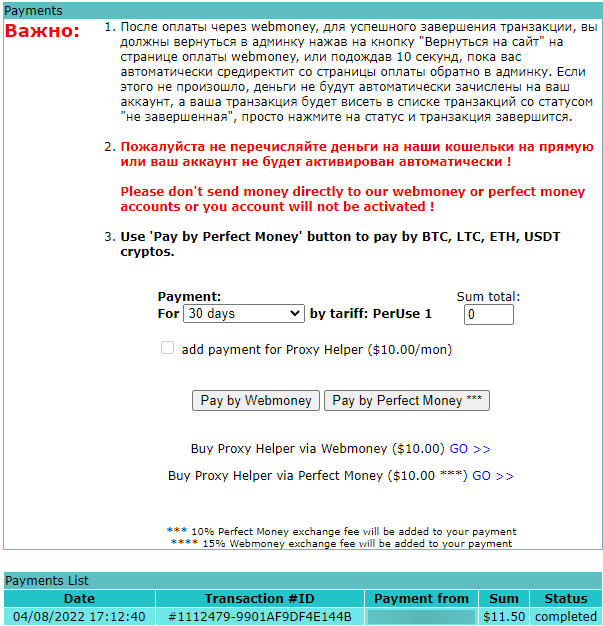
To use a SOCKS proxy in browser you have to get access to it. You can get a proxy on https://5socks.net.
Follow these steps:
- Go to https://admin.5socks.net and login in your account.
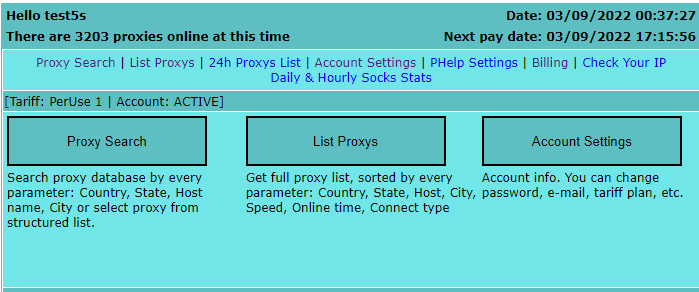
- After successful login you will see the admin panel where you can search proxy by specific parameters or get a full proxy list.
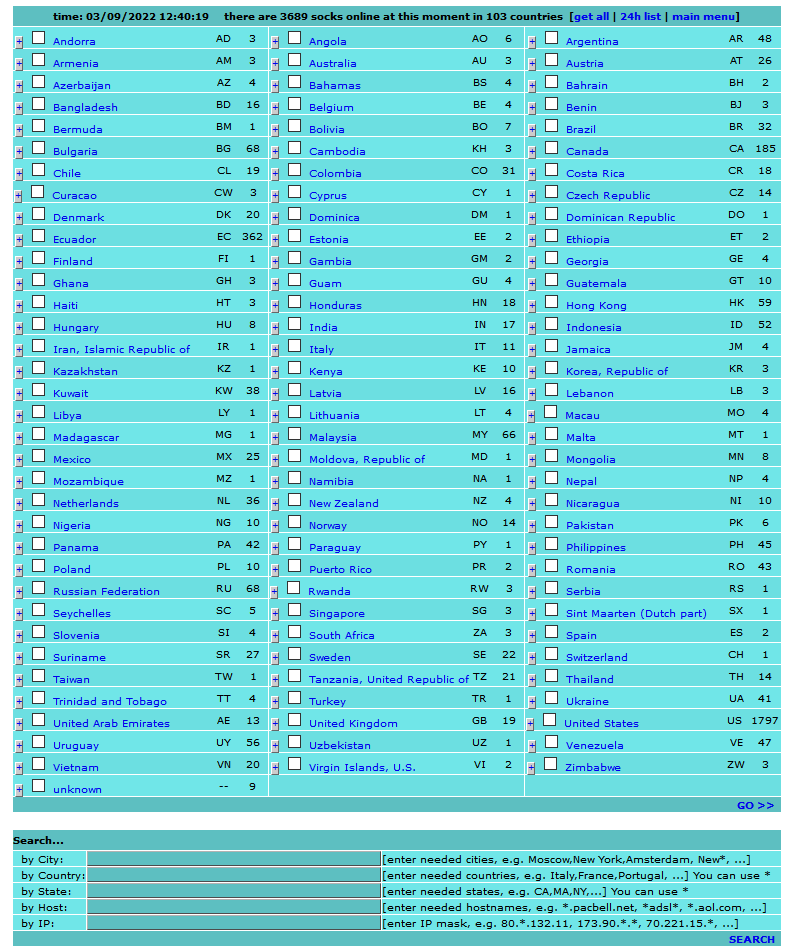
- The simplest way to get a proxy - List Proxys option. Click on this button. It will open a new page with all active proxys.
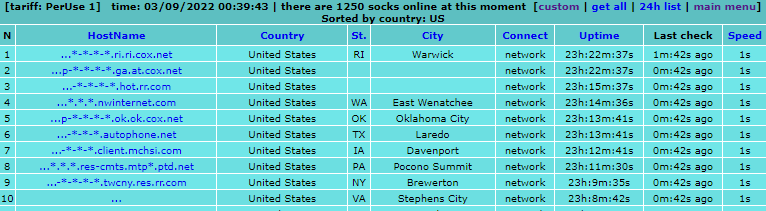
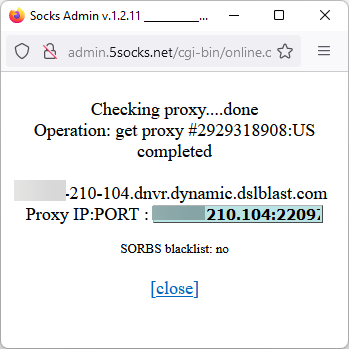
- Click on any proxy in HostName column, you will see a pop-up window.
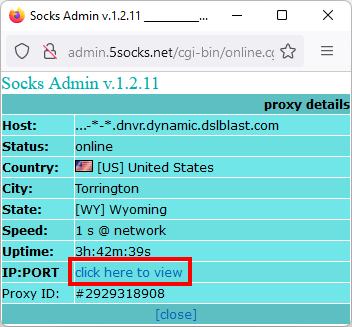
- Click on “click here to view” button. Our system will check proxy’s status and if it’s ok, it will show IP and PORT. Copy them.
Setting up a proxy in Google Chrome using the SwitchyOmega extension
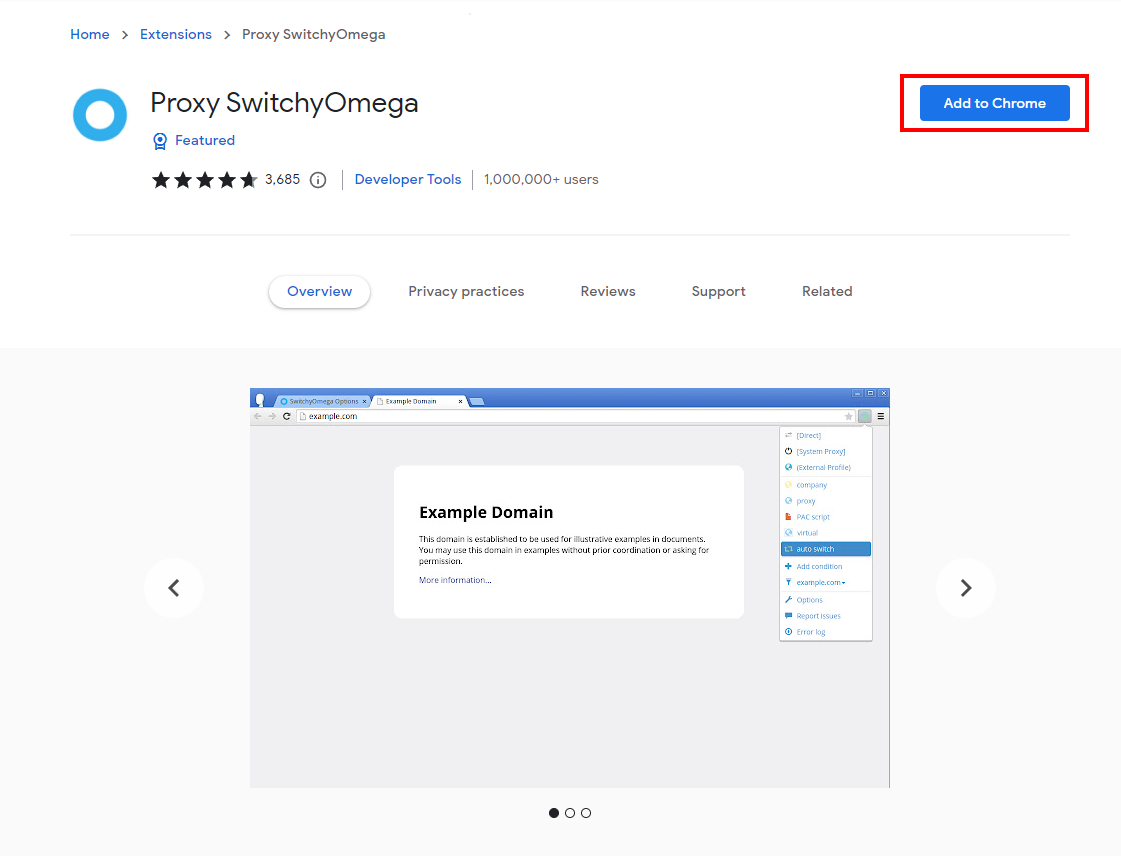
- You can install SwitchyOmega from the official chrome web store.
Follow this link and click on “Add to Chrome”:
https://chrome.google.com/webstore/detail/proxy-switchyomega/padekgcemlokbadohgkifijomclgjgif
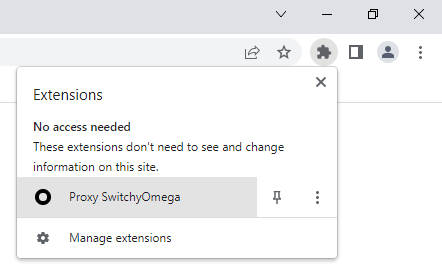
- After successful installation, click on the puzzle icon in the upper right corner of the screen to open the extensions menu. Click on Proxy SwitchyOmega
- In the pop-up menu, select Options
- Select Proxy profile or create a new one.
- Change protocol to SOCKS5 and paste Server and Port.
- Click Apply changes
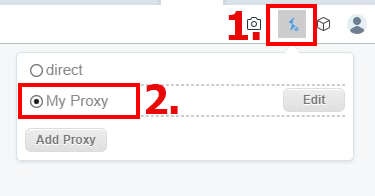
- Open the extension again via puzzle button in the upper right corner and select the configured profile.
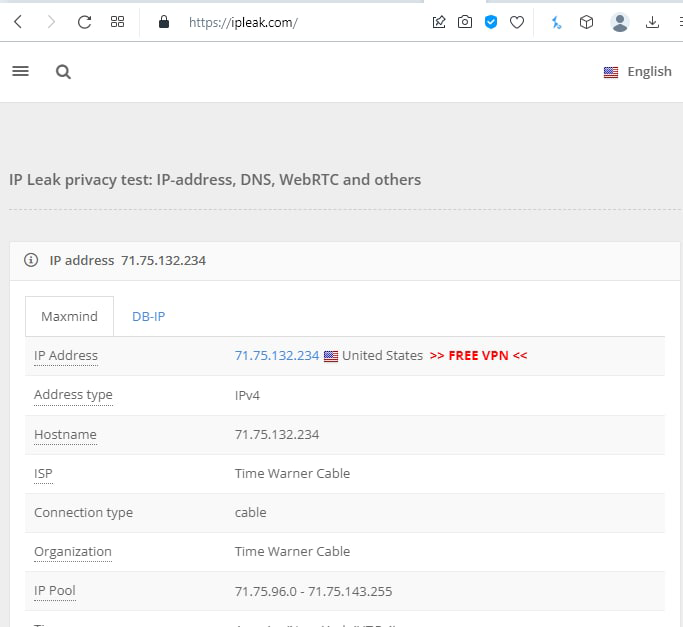
- Check your current IP on http://ipleak.com
- Proxy setup has been completed! Your IP is changed and now you can surf the Internet safely.