 en
en  Russian
Introduction
There are several ways to build an anonymous Internet access, but the most effective is solution to use virtual machine with Windows XP. Why not another operating system? Later versions of Microsoft operation systems (Windows 7 and later) have more restrictions in terms of anonymous access for users. On the other hand, almost all Windows applications require Windows 7 or higher, and Windows XP is not comfortable for everyday use as primary OS. VirtualBox allows to run Windows XP in another operating system, and it is the best solution of the described problem. This way, user can use Windows XP in another OS without having to reboot to use it.
Installing VirtualBox
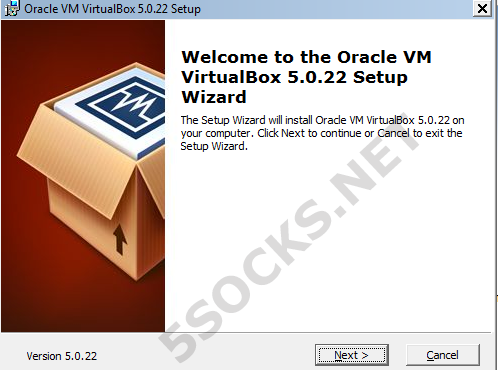
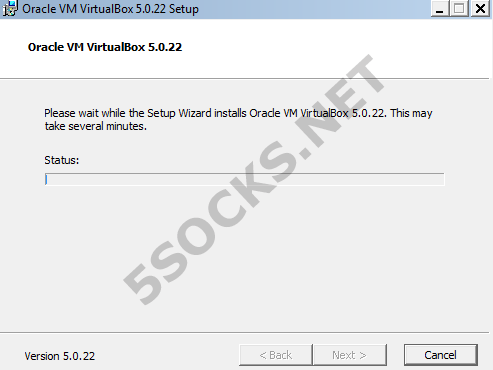
- Download VirtualBox setup file from developer’s website https://www.virtualbox.org/wiki/Downloads and double-click it to start installation. Click «Next» button to continue.
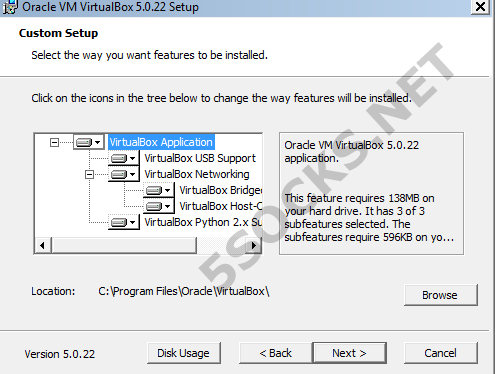
- Click on the icons in the tree to enable installation of particular modules of VirtualBox. We recommend keeping the default settings. In addition, you can choose the program installation folder - to do this, click Browse and specify the location of the folder where the installation wizard must copy the program files. We recommend keeping the default settings. Click «Next» button to continue.
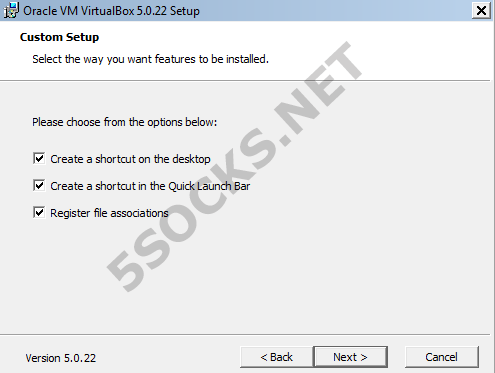
- Next, you can choose to create a shortcut on the desktop, to create a shortcut in the Quick Launch Bar and to register file associations. We recommend keeping the default settings. Click «Next» button to continue.
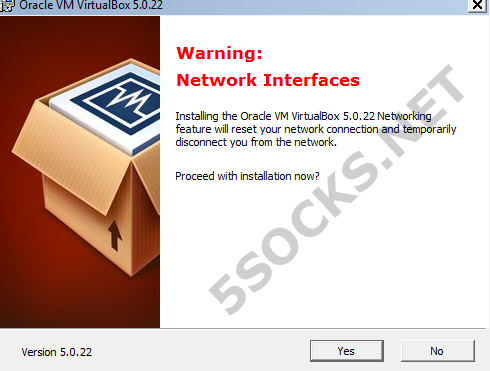
- Next you’ll be displayed a warning message about resetting your network connection. Press «Yes» to continue.
- Follow the prompts during the installation process.
Configuring VirtualBox and Windows XP installation.
ATTENTION! You need Windows XP installation disk or ISO to perform the installation.
-
Launch VirtualBox,.
-
Click «New» button on the main panel of the program to create new virtual machine..
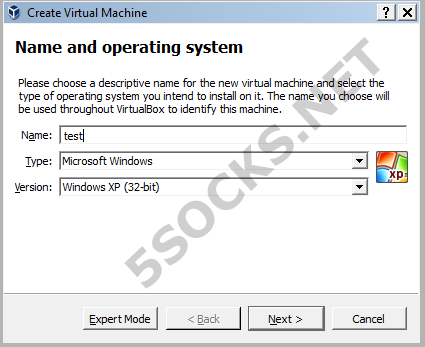
- Give the new virtual machine a name and choose «Microsoft Windows» from the Type menu, and then «Windows XP» from the Version menu. Press «Next» button to continue.
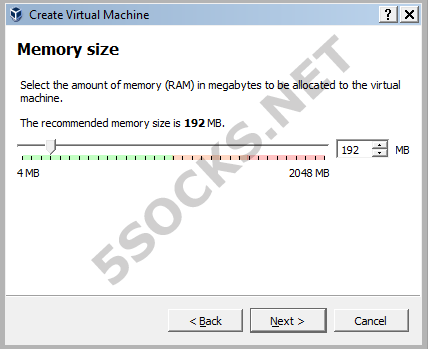
- Set the amount of RAM used by virtual machine. VirtualBox will automatically choose the recommended minimum amount for the operating system you selected, but we recommend to set 512 mB or more. Click «Next» to continue.
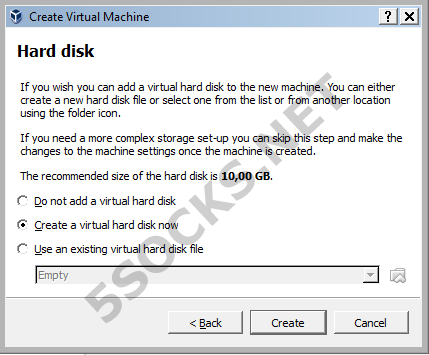
- You can add a virtual hard drive to the virtual machine. You can either create a new hard disk file or select one from the list. Click «Create» button to continue.
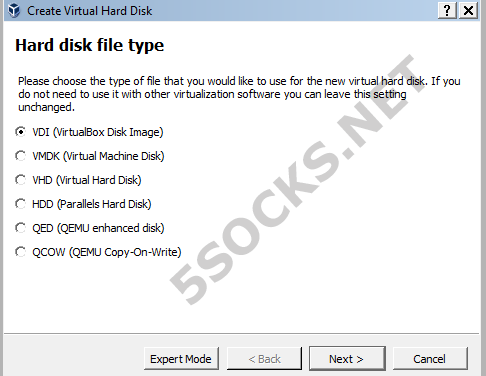
- Choose the type of file for virtual hard drive. If you don’t plan to use it with the other virtualization software, leave this setting unchanged. Click «Next» button to continue.
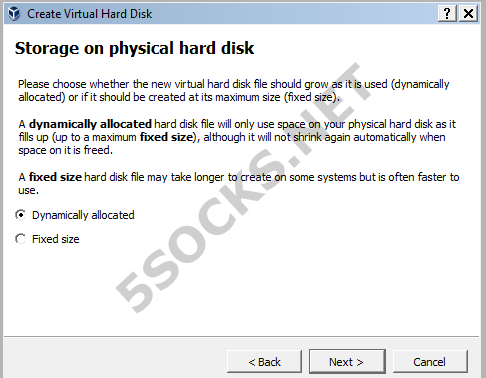
- Next, you need to select method of creation a disk image: fixed-size or dynamically allocated. A dynamically allocated hard disk file will only use space on your physical hard disk as it fills up (up to max size), but you should understand that it will not shrink again automatically when space on its freed. If you create a fixed-size image, an image file will be created on your host system which has roughly the same size as the virtual disk’s capacity.
A fix size hard disk may take longer to create but is often faster to use.
Click «Next» button to continue.
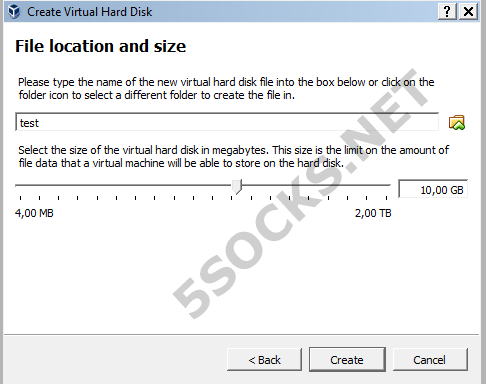
- Select a folder to create the new virtual hard disk drive, type the name and select the size of the new hard drive. Click «Create» to continue.
- Virtual machine created.

- Click «Settings» button in the main menu, open «System» tab and select booting from “Optical”.

- Open tab «Storage» , choose «Empty», and click on the icon near «Optical drive», then click «Choose Virtual Optical Disk File…»
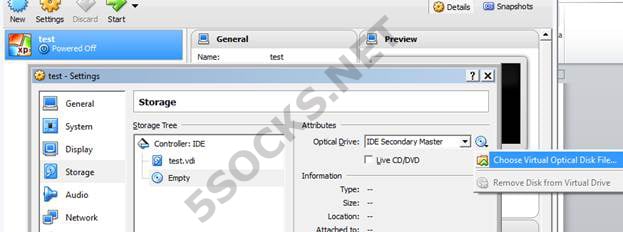
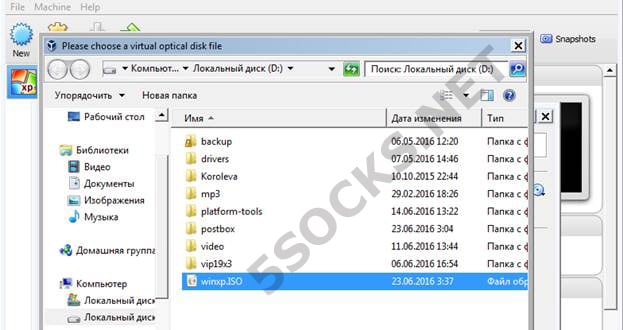
- Choose the location of the ISO with Windows XP and click «Open» button.
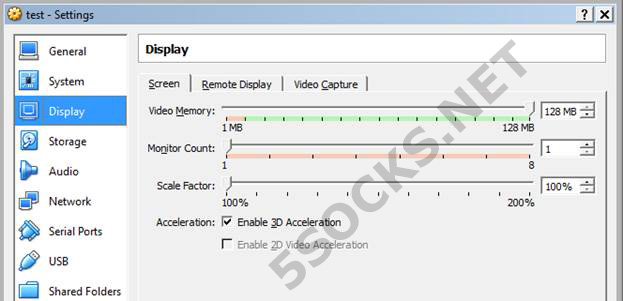
- Open tab «Display», expand the size of video RAM and enable 3D Acceleration
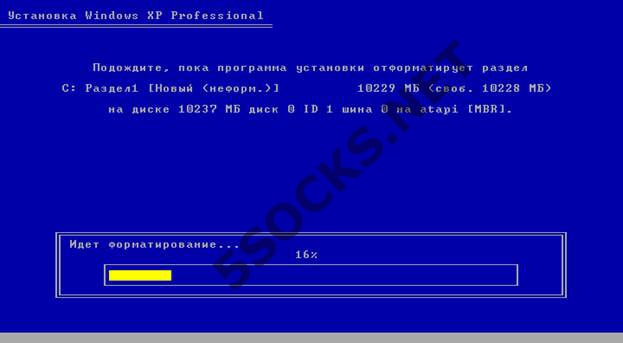
- Click «Start»button on the main panel, the operating system installation will begin. Follow displayed instructions during installation.
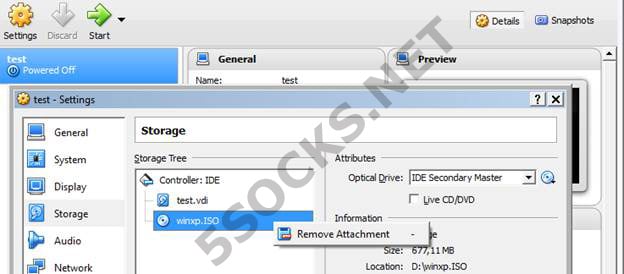
- After installation you have to unmount ISO from virtual drive. Click «Settings» button on the VirtualBox main panel , open tab «Storage», right-click on the icon of the installation disk, select «Remove attachment» and «Remove». Click «OK» button to finish.
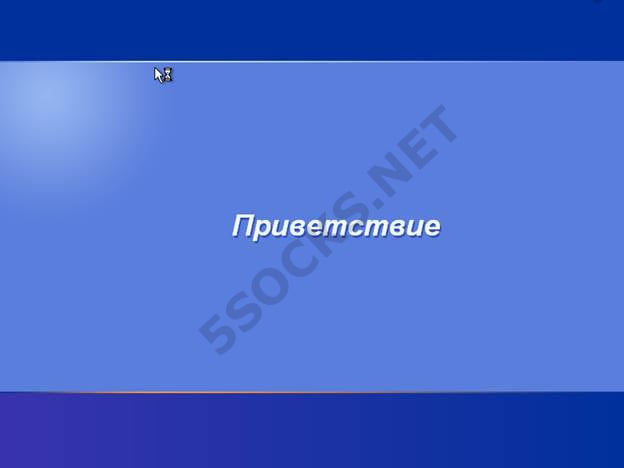
- Click «Start» button, the virtual computer will boot and load Windows XP.
How to get a Socks proxy list for CCProxy
First, you have to get an access to SOCKS proxy at https://5socks.net. Follow this simple steps.
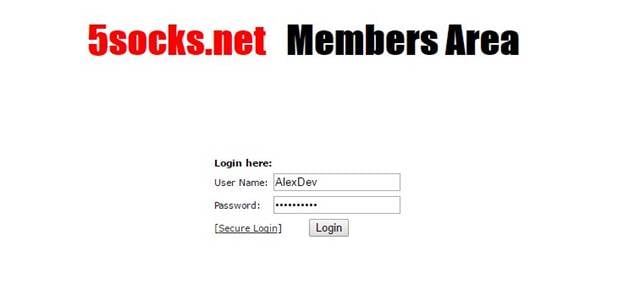
- Open https://admin.5socks.net and enter your login and password to get an access to Administration Panel
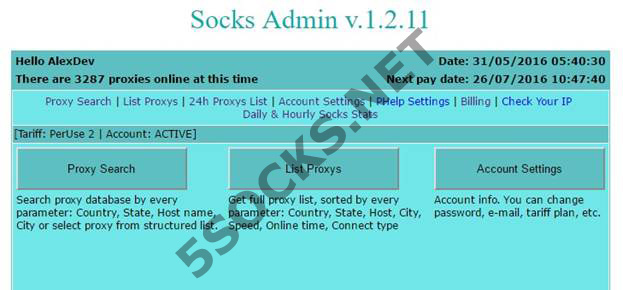
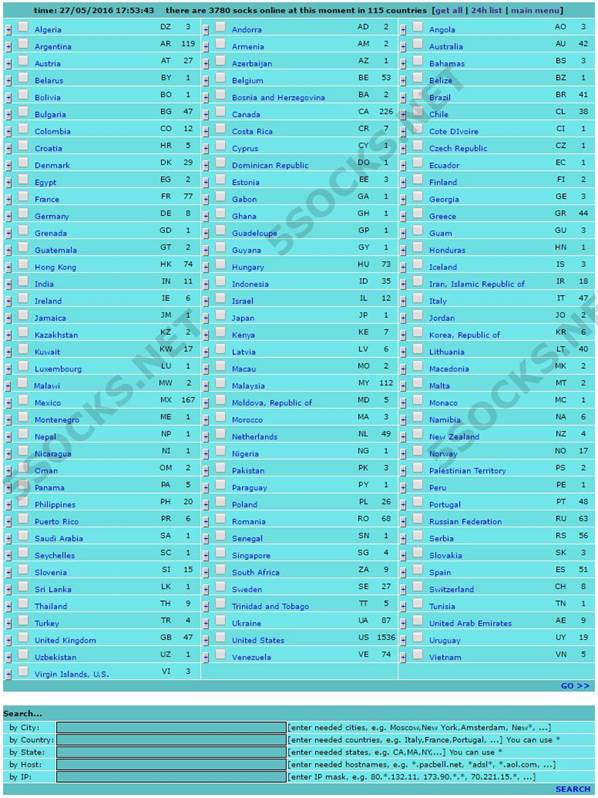
- After logging in you’ll see the SOCKS management page where you can find proxy by different parameters (Proxy Search), choose any available proxy from list (List Proxies) or manage your account details (Account Settings).
- Click Proxy Search and then click on the country where the proxy servers you want to use are located. Click Go to continue.
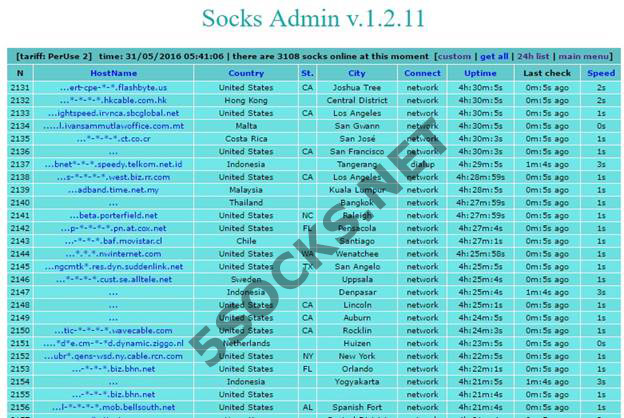
- The results will be displayed in a separate window and include information about each proxy server: country, state, city, network, running time, and speed.
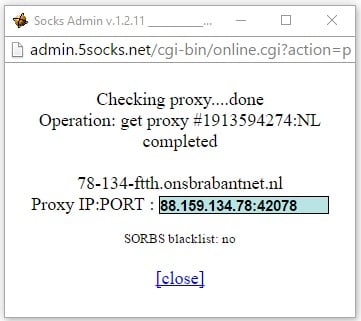
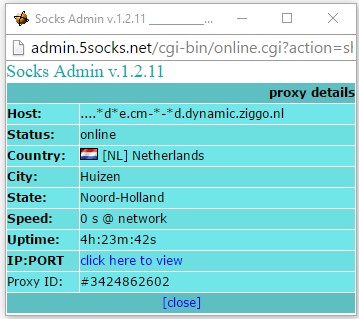
- Click on the host name and you’ll be displayed a pop-up window with details about the particular proxy server. To view the proxy server’s IP address and port, press click here to view
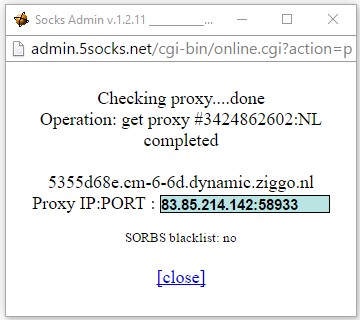
- Wait a few seconds while the software queries the proxy server, then you’ll be displayed a pop-up window with the results (see below). Copy or write down the IP address and port – you’ll need it to configure browsers for using proxy. In this example, the IP-address is 83.85.214.142, port:58933.
Web proxy settings in Firefox, testing proxy
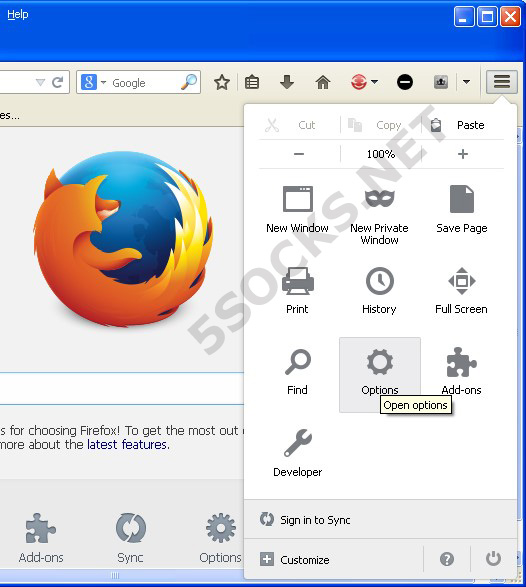
- Launch Firefox, open settings panel and select «Options» button.
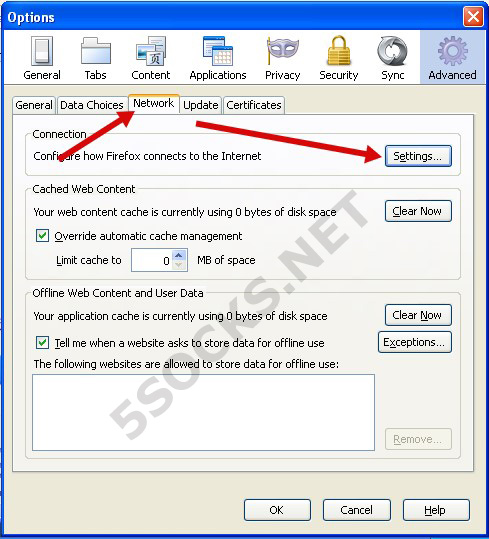
- Open «Advanced» tab, then «Network» tab and press «Settings» button
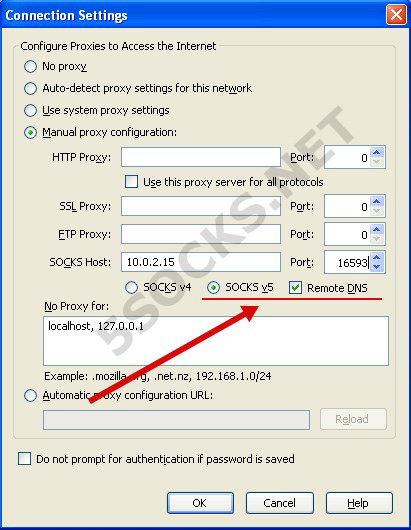
- Configure parameters in connection settings dialog:
-
Manual proxy configuration
-
SOCKS v5. Type the IP-address of the SOCKS server from https://5socks.net (in this example 83.85.214.142)
-
Type the number of the SOCKS port from https://5socks.net (in this example 58933)
-
Activate SOCKS5 and «Remote DNS» (DNS lookups will be done on the SOCKS server)
-
Press «ОК» button.
-
Done
-
Check your IP-address at http://www.ipleak.com.
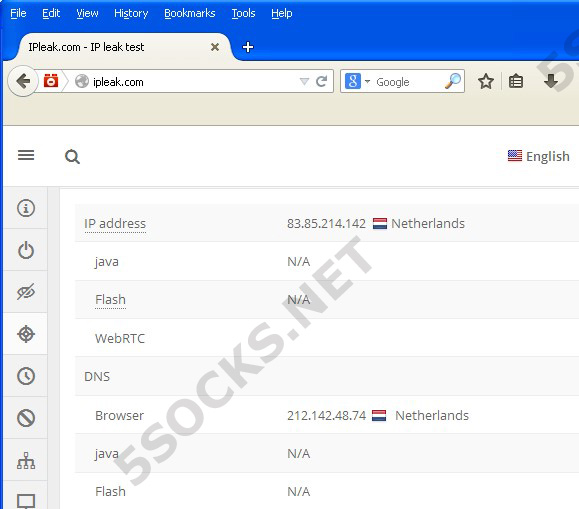
As we see, Firefox works through proxy, and the IP-address of your computer is 83.85.214.142 (Netherlands).
Web proxy settings in Internet Explorer, testing proxy
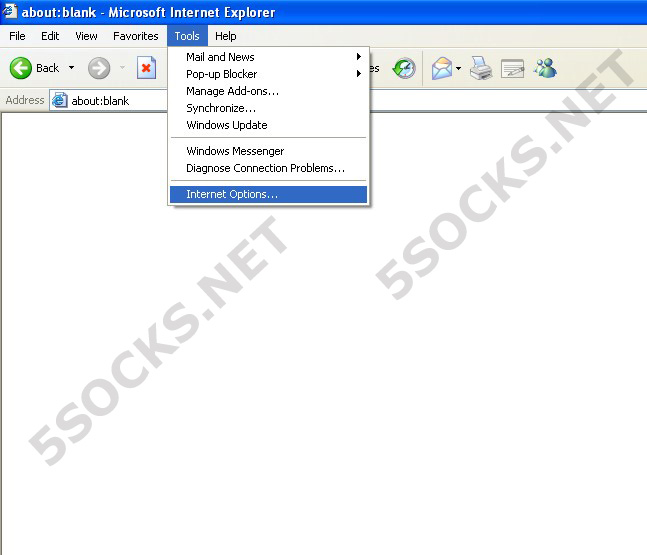
- Launch Internet Explorer, select «Tools» -> «Internet Options».
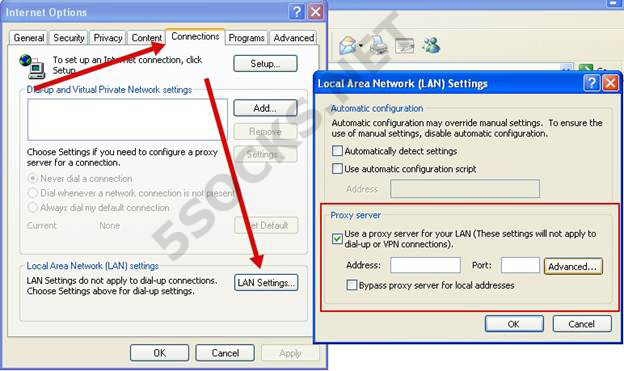
- Open tab «Connections» and press «LAN Settings…» button. Activate «Use a proxy server for your LAN» and press «Advanced» button.
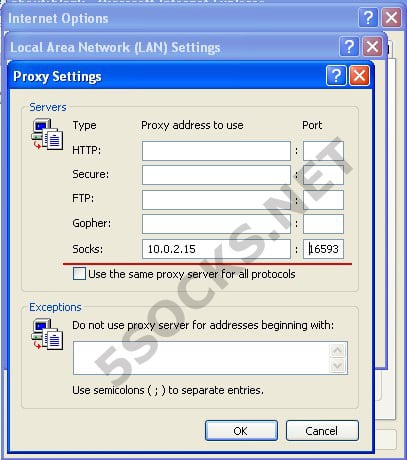
- Type the IP-address and port of the SOCKS proxy from https://5socks.net (in this example IP 83.85.214.142, port 58933)
-
Click «ОК» button in all setting pages
-
Done!
-
Check your IP-address at http://www.ipleak.com.
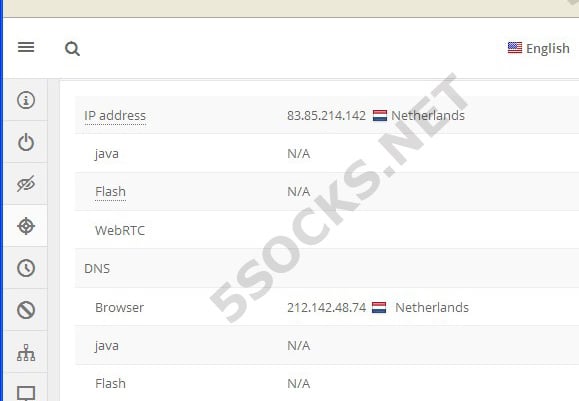
As we see, Internet Explorer works through SOCKS proxy, and the IP-address of your computer is 83.85.214.142 (Netherlands).