en
en  Russian
About ProxyCap
ProxyCap is a software application capable of easily rerouting all your network traffic through a proxy server or a chain of proxies. ProxyCap has a rich functionality set, including tunneling any program’s network requests.
The unique feature of ProxyCap is that it can work with protocols SOCKS 4/5, HTTP/HTTPS proxies and SSH connections. It also supports authentication in the protocols. There is a built-in checker for performance monitoring. The application is launched automatically on the operating system start and is easily accessible via the system tray.
ProxyCap can be used to create a mixed-type proxy chain: SOCKS, HTTP, and SSH. The program supports up to 16 proxies per chain. For user convenience, ProxyCap provides an option to create a flexible set of rules for connection routing, where users can manually set their own rules for tunneling traffic using such parameters as application, IP address, port, domain, and protocol (TCP/UDP).
ProxyCap supports redirecting all DNS requests through a proxy. This protects against DNS leaks and hides the user’s real location.
ProxyCap runs under Windows 32 and 64 bit, Mac OS X, and Windows Mobile. It works well with popular applications: Firefox, Chrome, Opera, Internet Explorer, Safari, Outlook, Pidgin, PSI, as well as with Metro Style apps for Windows 8 (such as Windows Store and Metro version of Internet Explorer).
The user-friendly interface and a broad range of features make this software one of the best in its class.
ProxyCap has a free 30-day trial period and can be downloaded at:
http://www.proxycap.com/download.html
Obtaining a proxy using the SOCKS Admin control panel
For working with ProxyCap you can use SOCKS proxies which can be obtained from the proxy service provider at https://5socks.net/
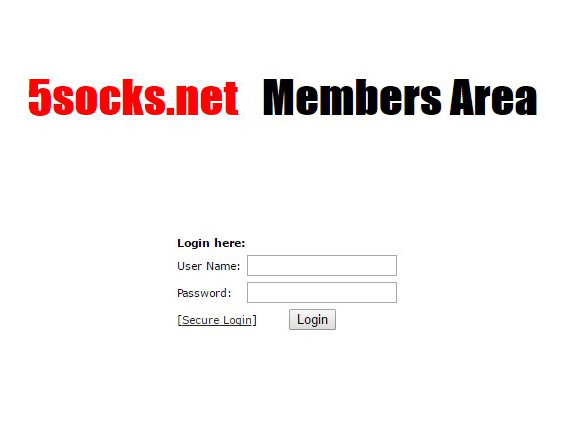
- Visit https://admin.5socks.net/ and log into your account to get access to the admin panel.
- After logging in, you’ll be taken to the SOCKS management page where you can access proxy servers by clicking either Proxy Search or List Proxies. The page displays the number of proxy servers currently available and your account details (Account Settings).
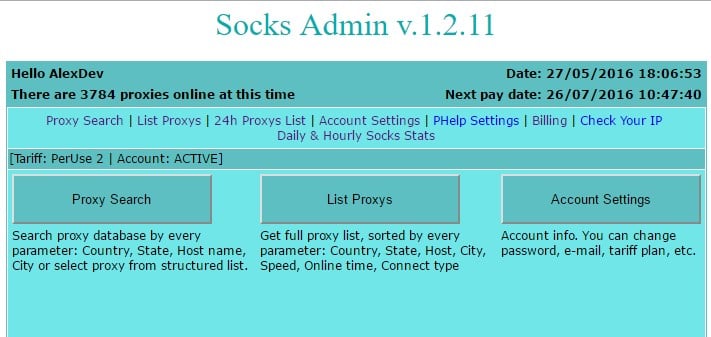
- Click the Proxy Search button. A window will open displaying a list of countries and the number of available proxies in each.
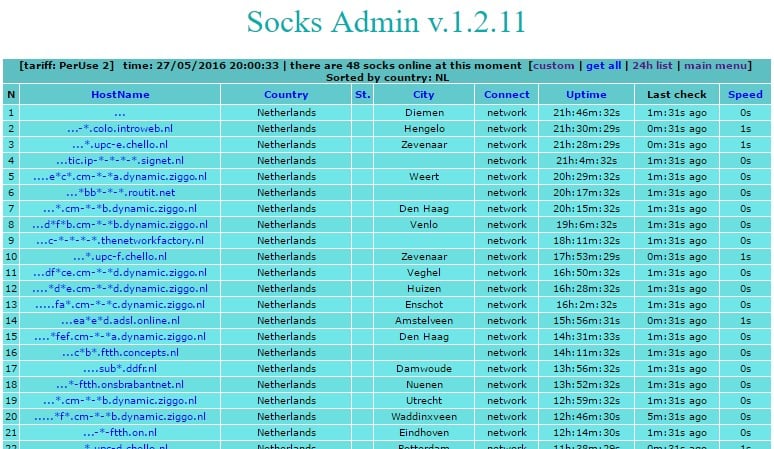
- Click on the country where the proxy servers you want to use are located. The results will be displayed in a separate window and include information about each proxy server: country, state, city, network, running time, and speed.
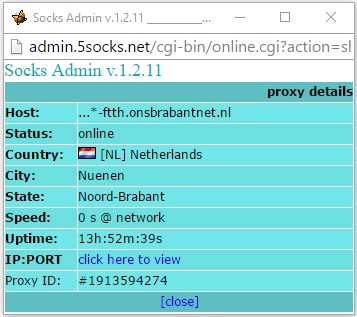
- Clicking on the host name will show a pop-up window with more details about the particular proxy server. To view the proxy server’s IP address and port, press click here to view.
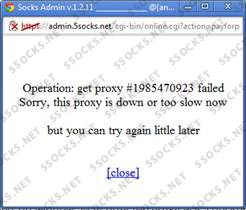
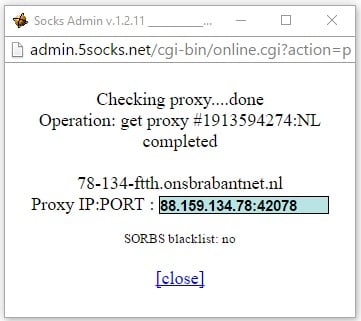
- Wait a few seconds while the software queries the proxy server, then a pop-up window will open with the results (see below). Copy the IP address and port and use this information for working with ProxyCap.
Launching proxy service in browsers using ProxyCap and testing proxy connection
- Launch ProxyCap.
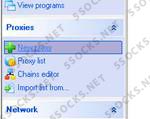
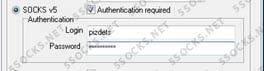
- After the first run, you’ll see the window with program configuration and proxy adding feature. Click New proxy server to add a proxy. Make sure to specify the SOCKS 5 protocol in the Type column.
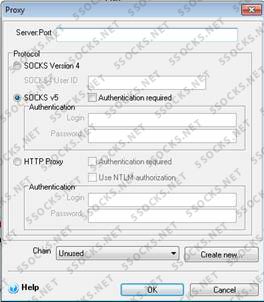
-
Click OK to save the changes.
-
Now you can click Proxy check to test the proxy server you just added.

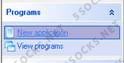
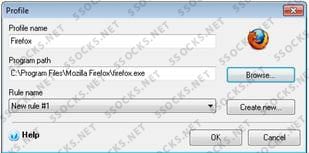
- Then go to Rules section on the left to add a new rule for traffic tunneling. Click Add new Rule.
In the Rule Action field, select the option Redirect through proxy.
In the Proxy field, specify the proxy you selected earlier.
Check off Resolve names remotely to forward all DNS queries to the SOCKS server. This is necessary in order to protect against DNS leak.
Check off TCP and UDP protocols.
Note that by default the rule sets tunneling for all applications and IP/port ranges. However, you can enter your settings and manually select the programs that will run through this proxy. In this way you can route traffic to and from different programs to run through different proxies at the same time.
- Click OK to save all settings.
Now you can run your favorite browser and test the ProxyCap operation.
Let’s us http://IPleak.com/ to find out your IP address and DNS.
As you can see, the IP address that is detected is the same as you entered in the ProxyCap settings window. This means the SOCKS v5 tunneling through ProxyCap is on.
Getting to know ProxyCap
This is what ProxyCap looks like when you launch it for the first time.

Initially the program configuration window is empty. Let’s go over the interface and configuration settings.
Under the Proxies tab you can add a proxy (New proxy server), remove it (Delete proxy), change the proxy’s settings (Properties), query it for information (Check proxy), and specify a default proxy server (Set as default).

The Chains tab contains proxy chain settings:
New Proxy Chain creates a chain of different proxies through which ProxyCap will tunnel traffic.
Also under this tab you can modify (Edit), remove (Delete), and test (Check) a saved proxy chain.
Configuration profiles can be exported from and imported into the program under the Ruleset tab.
You can manage various Internet connection routing rules and add new ones using the configuration wizard (New rule wizard) under the Rules tab.
If you need to create a list of domains that always resolve locally, go to the DNS tab.
To access the ProxyCap menu, simply right-click on its icon in the system tray.
The menu allows to turn the program on or off (Enable/Disable ProxyCap), show the user manual (ProxyCap Help), open the proxy settings menu (Configuration), and display the open connections and logs monitoring window (Status and Logs).