 en
en  Russian
About FreeCap
FreeCap is a freeware program that is used to make transparent redirections of connection from certain programs through SOCKS server. Some programs do not support connection on SOCKS natively, but with FreeCap, this isn’t a problem anymore. All connections requests through SOCKS server can be achieved through FreeCap’s transparent proxy redirection.
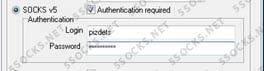
FreeCap supports both version 4 and version 5 of the SOCKS proxy protocol. Authorization with version 5 SOCKS protocol is also supported by FreeCap, you just have to provide the necessary credentials regarding the proxy service provider you are going to use. A tunneling of connection through HTTP proxy happens within FreeCap’s system via the CONNECT method. There is also an automatic launch of the FreeCap application on the system start-up to reduce the hassle for you of launching it all over again every time you make a new session with your computer.
This application is said to work on Windows95/98/ME/NT/2000/XP/Longhorn/Blackcomb OS. Major usages of this software are on many popular programs, such as: Internet Explorer, Netscape, Mozilla, Trillian, Opera, and MS Outlook Express.
It also has a very nice GUI, very easy to use, and the best part of it, it’s a freeware! You can get it absolutely for free at http://www.freecap.ru/eng/
Taking Proxies from SOCKS Admin
To be able to use FreeCap, first you must have a SOCKS proxy. Where can you get it? You can get it on proxy service providers. We can get it at https:// 5socks.net/
- Go to https://admin.5socks.net/ and log in with your account to access the admin area.
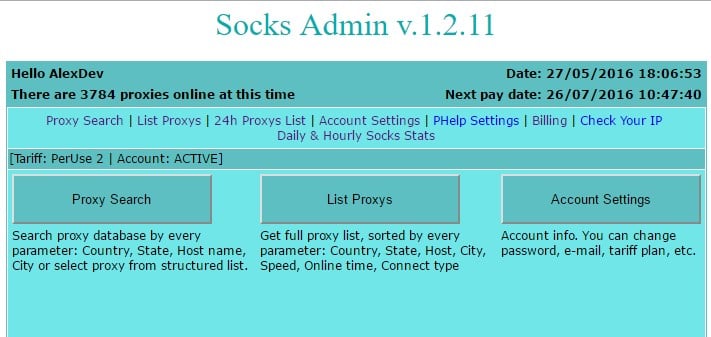
- After logging in, you will be sent to your Socks Admin page. From here, you can get access to the proxies in many ways, such as: via Proxy Search or via List Proxy. You can also see the number of the available proxies at that moment, and the status of your account.
- Click on Proxy Search button and you will be redirected to a page with selection buttons per country. With that, you can filter out proxies you only wanted to find. Just click on the selection button to mark a certain country.
- After making your selection of the countries you want to get proxies, you can just hit the Go » link to proceed on the search results. Alternatively, you can use the search box in the bottom of the page in order to find more specific proxies at more filters.
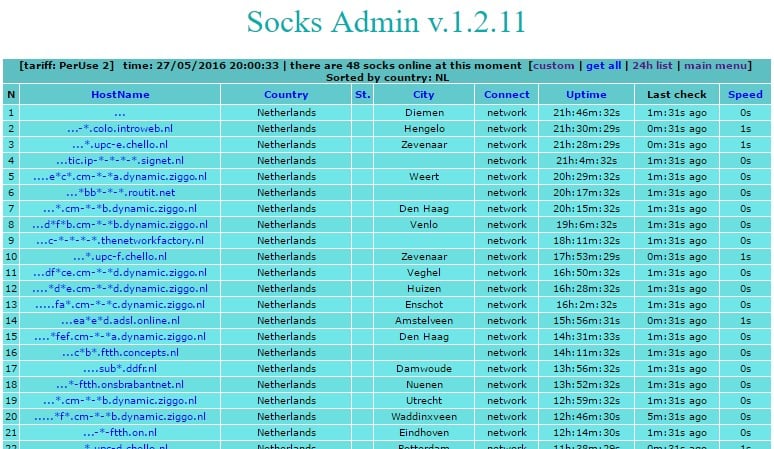
- You will then be sent to a page where you can see the proxies resulting from your search. You can see the details of the proxies, such as its country, state, city, network, uptime and speed.
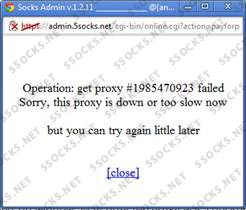
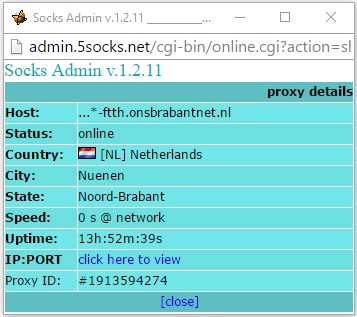
- Clicking on a certain hostname link result will open you a pop-up window containing the further details of the proxy. From that window, click the link “click here to view” to show the proxy IP and port of that proxy result.
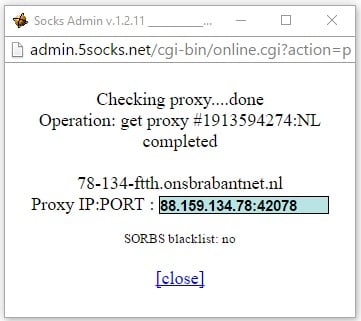
- Then a proxy checking will follow, just wait for a few seconds and then you will see this kind of window. You can now copy the IP and Port of the proxy and use it on FreeCap.
Putting Proxy in Browsers using FreeCap and Testing
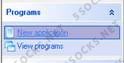
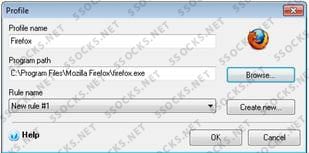
- Launch FreeCap app. Then click on File>New application, then browse to your Program Files folder and locate the executable file of the desired browser you wanted to use. After adding a program, an icon of it will be shown on the main window of the FreeCap application.
- Then click on File>Settings to open the Settings window of FreeCap. From here, you can change the FreeCap’s settings and also put in the details of the proxy you are going to use. Just fill in the Proxy Server Address and the Proxy Port Number.

- Then click on the Apply button to save the settings and then on the OK button to return in the main window. We now have configured FreeCap to use the IP and Port we had provided on the earlier step. Right click on a browser icon and you can see a Run link, just click Run and then the browser will start, and the tunneling of the proxy will start.
- Your browser will open. With this, it will be already configured with the proxy and port settings we had provided on the previous steps. To try if your proxy is already changed, head on to http://www.ipleak.com/ to check your current IP.
As you can see, it shows the proxy I had used in the FreeCap’s settings. FreeCap’s SOCKS v5 tunneling really works!
Familiarizing yourself with FreeCap
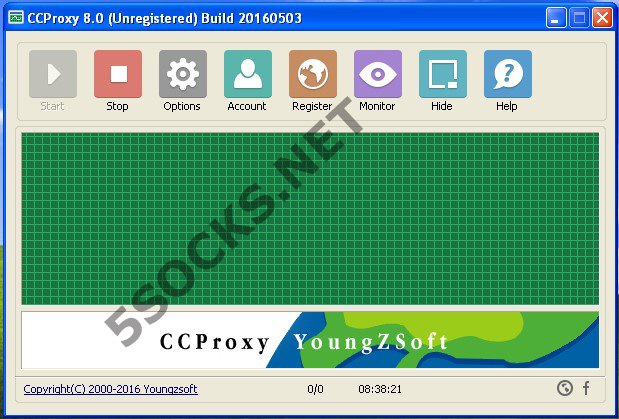
This is FreeCap’s first look.
Obviously, it is blank, but not until you have started using this application. But for now, let’s just familiarize ourselves with FreeCap’s GUI and environment.

On the “File” tab, you can found the following menu selections and functions:

New Application – this will let you add applications, in which FreeCap will commence the SOCKS proxy service tunneling. You can add a Profile Name for a certain application, and then browse its path; you can also choose to run the program at FreeCap’s startup.
You can also “Modify”, “Delete” or “Run” a saved application profile from the File tab menu.
Your FreeCapconfig can be exported and even imported to the program via the Import/Export options. Exporting will create you an XML file, in balance with importing which will requires you an XML file.
Settings - program settings can be accessed by selecting the Settings link from the FreeCap’s File tab menu.
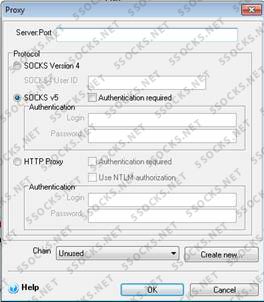
Here is how the settings window looks like:
There are a lot of things you can alter on the settings window of FreeCap, the Proxy Settings tab is the default tab of the Settings window.
The Proxy Settings tab is where you change the IP address and Port you are going to use. It can be HTTP proxy, SOCKS v4 or v5.
The Proxy Chain tab will let you input multiple proxy settings and select the proxies you want to use simultaneously.
The SocksSharetab will let you share your SOCKS proxies over the SocksShareTMnetwork. You can choose which proxy types to share.
The Direct Connections tab will let you specify addresses that you want to use direct connections only. This will tell ProxyCap to stop tunneling SOCKS connection when accessing these certain addresses.
The Program settings tab, lists all the other FreeCap’s settings you can customize on your own liking.
The Log settings tab shows the settings for logging data in the FreeCap app.